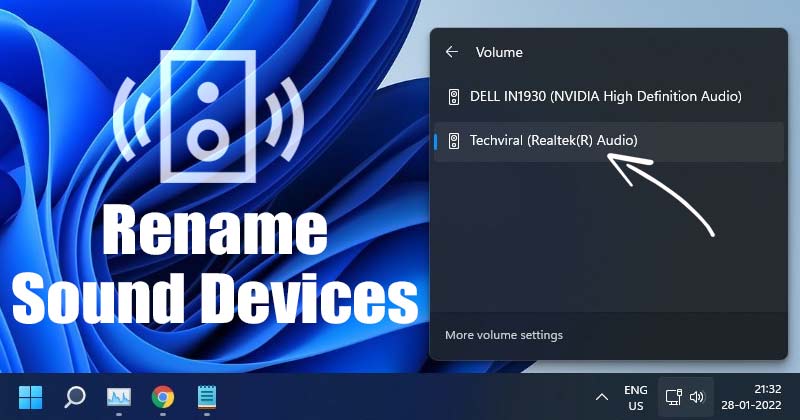
While Windows 11 allows multiple audio devices to be connected, managing them can be challenging. For example, Windows 11 users can get confused by the default audio device name and may like to change it. Fortunately, Windows 11 allows users to set custom names for the Audio devices in easy steps. So, if you are looking for ways to rename audio devices on Windows 11, you have landed on the right web page. You don’t need to change any system settings or install any third-party app for renaming the audio device. Instead, you just need to access the Sound setting page, select the audio device, and rename it.
Steps to Rename Sound Devices on Windows 11
Hence, in this article, we will share a step-by-step guide on how to rename audio devices on Windows 11. The process will be straightforward; just follow them as directed.
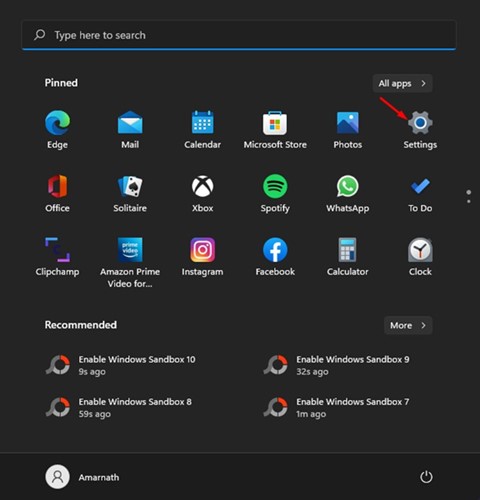
First of all, click on the Windows 11 Start button and select Settings.
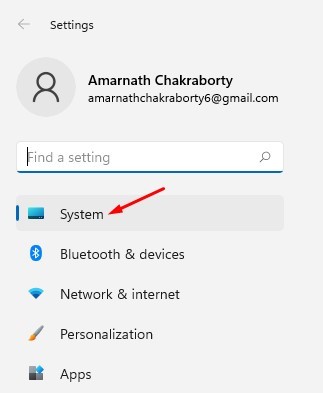
On the Settings page, click on the System tab as shown below.
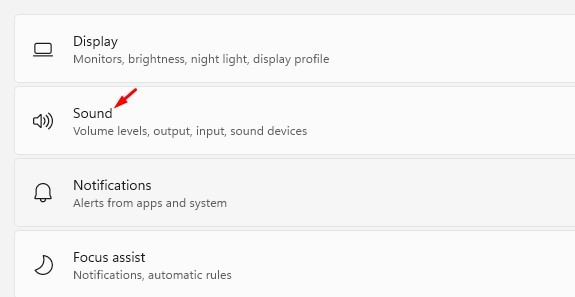
Click on the Sound option on the right pane, as shown in the screenshot below.
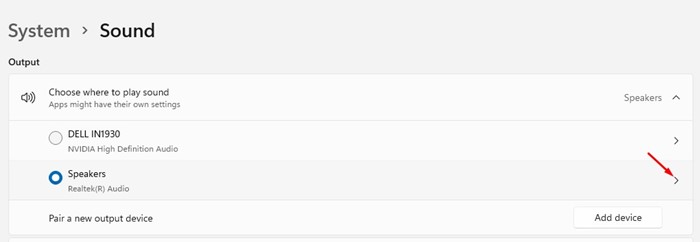
Under the Sound, click on the arrow button behind the audio device.
On the Device Settings page, click on the Rename link under the device name.
Now, type in the name you want to set for the audio device and click on the Rename button to save it.
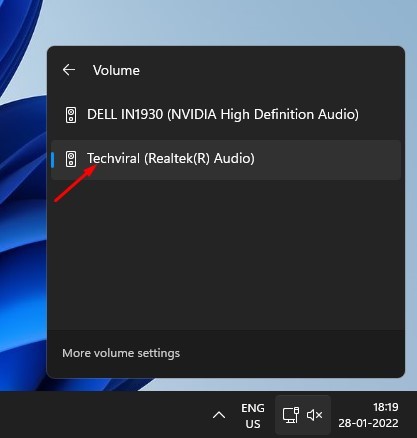
Now scroll down and find the Input section. You need to implement the same steps to change the name of the input devices. That’s it! You are done. This is how you can rename audio devices on Windows 11. The new name will reflect on the Volume Settings.
You can easily rename audio devices on Windows 11 by following this method. I hope this article helped you! Please share it with your friends also. If you have any doubts related to this, let us know in the comment box below.
Δ
